Ever wonder why some candles burn straight down the middle, leaving wasted wax stuck to the sides? It all comes down to the First Burn Rule. The very first time you light a candle, you must let the wax melt completely from edge to edge to set its "memory ring." Discover how this simple, 3-hour habit prevents tunneling, extends your candle's life, and ensures a clean, even burn every single time.
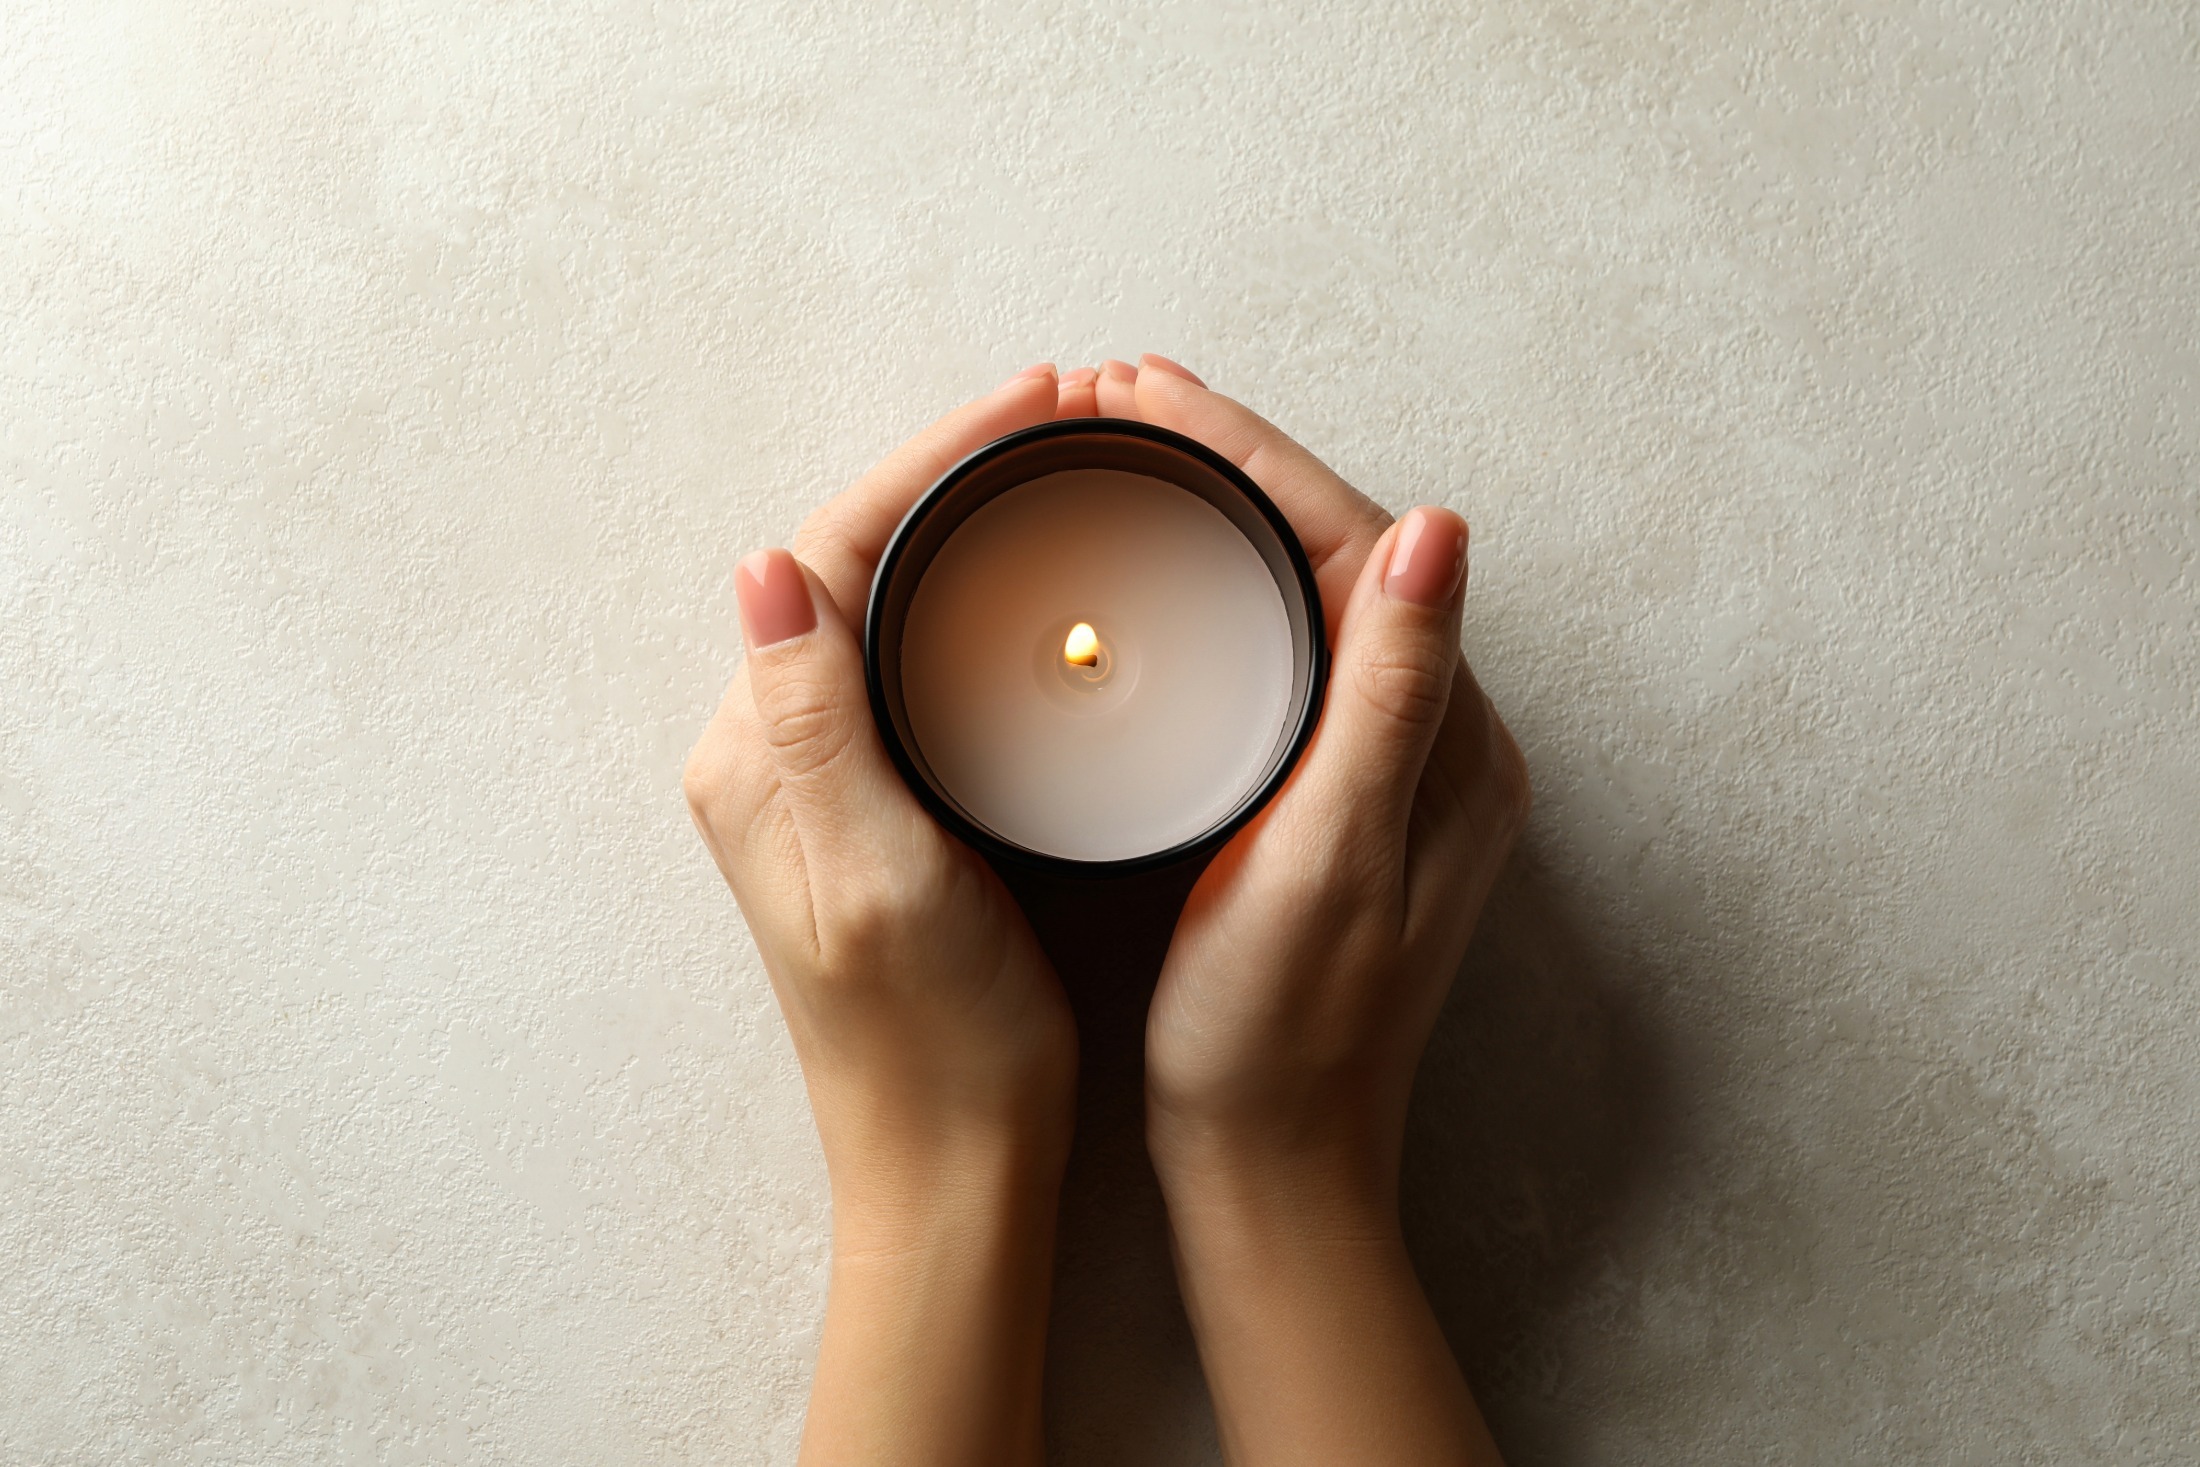
You just unboxed your new luxury candle. The scent is exactly what you wanted, the sleek amber glass looks clean and minimal on your table, and you’re ready to light it
But before you strike that match, there’s one critical step that determines whether you get a full, even burn—or waste half your luxury investment to uneven melting.
It’s called the first burn rule, and it is the single most important habit in proper candle care guide practices. Skipping this foundational step causes your wax to tunnel, shortening your candle’s lifespan by up to 50%.
Here is everything you need to know about how the first burn rule works, why wax behaves the way it does, and how to maximize your candle’s burn time from the very first light.
Table of Contents
- What Is the First Burn Rule?
- Key Takeaways
- Understanding Candle Tunneling and Its Cost
- The Science Behind the Wax “Memory Ring”
- Step-by-Step: How to Execute the Perfect First Burn
- How to Fix a Tunneling Candle: The Foil Method
- Why Quality Candle Design Matters
- Your First Burn Checklist
- Frequently Asked Questions (FAQ)
What Is the First Burn Rule?
Featured Snippet Optimization (What is the first burn rule?):
The first burn rule states that the first time you light a new candle, you must let it burn until the melted wax pool reaches completely across the surface to the edges of the container. This typically takes 2 to 4 hours. Establishing a full melt pool on the initial burn prevents candle tunneling by setting an even “memory ring” in the wax for all future burns.
If you stop the initial burn too early, the wax will only melt partway across the top layer. On subsequent burns, the heat from the flame will follow that exact same narrow path, burning straight down the center while leaving hard wax stuck to the glass.
Key Takeaways
- The Core Rule: Always let the liquid wax pool reach the container’s glass edges on its first lighting.
- Wax Memory: Soy, paraffin, and coconut waxes structurally adapt to previous melt patterns.
- Tunneling Consequences: Reduces total burn time, drowns wicks, and stifles the fragrance throw.
- The Quick Fix: Use an aluminum foil dome to trap heat and even out a tunneled candle surface.
- Pro Tip: Keep wicks trimmed to 1/4 inch before every single lighting to keep the flame stable.
Understanding Candle Tunneling and Its Cost
Candle tunneling happens when a wick burns straight down the middle of a jar, creating a deep, narrow shaft surrounded by thick, wasted walls of hard wax.
When a container candle tunnels, it triggers several performance problems:
- Wasted Product: You lose a massive percentage of your total wax pool, drastically shortening the lifespan of your purchase.
- Weak Fragrance Throw: Premium scent oils need a wide surface area of warm, liquid wax to evaporate efficiently. A narrow tunnel restricts how well the aroma disperses through a room.
- Drowned Wicks: As the central tunnel deepens, the surrounding walls of hard wax will eventually melt or cave inward, burying the wick and extinguishing the flame permanently.
Using a proper candle care guide is the easiest way to avoid this cycle and get every hour of burn time you paid for.
The Science Behind the Wax “Memory Ring”
While candle wax isn’t alive, its physical behavior is highly predictable. When wax heats up, liquefies, and cools down again, it undergoes structural changes that dictate its future melting patterns. This threshold is known as a memory ring.
The maximum boundary established during your candle’s very first lighting becomes a physical track. On future lights, the heat radius of a standard cotton or wood wick will struggle to push past that initial boundary line if it was set too narrow.
If you blow out the flame after just 30 minutes, the candle permanently locks in that tiny, restricted melt zone. Forcing a clean melt pool later becomes significantly harder because the cold, outer wax acts as an insulator, resisting the heat of the flame.
Step-by-Step: How to Execute the Perfect First Burn
To set up your premium container candle for a long, clean life, follow these four foundational steps during its initial lighting:
1. Commit to 2 to 3 Hours of Burn Time
The first lighting should never be rushed. Plan for at least two to three hours of continuous, uninterrupted burn time. Short “test burns” are the primary cause of candle tunneling.
Safety Note: While reaching a full melt pool is critical, never leave a candle burning for more than 4 hours at a single time to avoid overheating the glass or destabilizing the wick.
2. Wait for a Complete Melt Pool
Do not extinguish the flame until you observe a flat, liquid horizon. A complete melt pool means:
- The entire top layer of wax is liquid.
- The melted wax touches the glass edges on all sides of the container.
- No solid, opaque wax rings remain along the perimeter.
3. Don’t Extinguish the Flame Early
Even if your space is filled with incredible fragrance after an hour, resist the urge to blow out the candle too soon. If the outer edges are still solid, you are inadvertently training your wax to tunnel.
4. Adjust for Environmental Factors
External conditions change how quickly wax responds to a flame:
- Cold Rooms: Lower ambient temperatures slow down melt times, requiring a longer first burn.
- Drafty Spaces: Air currents from open windows, fans, or HVAC vents cause uneven burning, flickering, and soot. Place your candle in a stable, still area.
- Large Jars or Multi-Wick Candles: Wide containers need more time (and multiple properly spaced wicks) to melt out to the perimeter.
How to Fix a Tunneling Candle: The Foil Method
If your candle has already started tunneling due to a rushed first lighting, you can reset its wax memory using a simple heat-trapping technique called the Foil Method.
Step-by-Step Guide:
- Trim the Wick: Ensure your wick is cleared of any burnt “mushroom” shapes and sits at a clean 1/4 inch height.
- Apply Aluminum Foil: Wrap a sheet of aluminum foil around the top rim of the candle jar. Fold the foil inward over the opening to form an angled dome shape.
- Leave an Air Gap: Cut or leave a 1-inch open hole in the exact center of the foil dome. This allows vital oxygen to feed the flame safely.
- Light and Monitor: Light the candle and let it burn. The foil dome will trap rising heat, reflecting it back down onto the stubborn outer wax walls. Within 1 to 2 hours, the raised edges will melt down into a flat, uniform pool, effectively resetting the wax memory.
Why Quality Candle Design Matters
Not all wax formulas behave the same way under a flame. Mass-produced candles made with low-grade paraffin often melt unevenly, creating structural tunneling even if you follow the first burn rule perfectly.
At Maxwell Thomas, our artisanal home fragrance products utilize a highly refined soy-paraffin blend designed specifically for optimal thermal performance:
- Consistent Heat Distribution: The wax blend responds fluidly to the heat of the flame, ensuring an even melt across the surface.
- High Resistance to Tunneling: Engineered to minimize the rigid boundaries that form stubborn memory rings.
- Clean, Soot-Free Performance: Keeps your air pure and your vessel clean, maintaining healthy indoor air quality.
Whether you prefer traditional cotton wicks or the steady, wide heat radius of wood wick options, investing in properly formulated candles ensures a uniform burn and a premium, long-lasting scent throw.
Your First Burn Checklist
Before you light a brand-new container candle, make sure you can check off every box on this list:
- [ ] Time: You have 2 to 3 hours of uninterrupted time to monitor the candle.
- [ ] Placement: The jar sits on a stable, heat-resistant, draft-free surface away from air vents.
- [ ] Wick Length: The wick has been trimmed to precisely 1/4 inch.
- [ ] Goal: You are committed to letting the liquid wax reach every side of the glass container before extinguishing the flame.
Frequently Asked Questions (FAQ)
Why does my candle tunnel?
Candles tunnel because they were blown out before the liquefied wax reached the full outer edges of the container during their initial burn sessions. This sets a restrictive wax “memory ring” that subsequent burns struggle to expand past.
How long should I burn a candle the first time?
You should burn a new candle for 2 to 3 hours, or until the entire top layer of wax becomes completely liquid from edge to edge. Larger vessels or cold ambient room temperatures may require up to 4 hours.
Can you fix a tunneled candle?
Yes. You can fix a tunneled candle by wrapping aluminum foil around the top rim to create a dome that traps heat, melting down the elevated outer wax walls. Alternatively, using an electric candle warmer lamp can safely liquefy the entire wax surface to reset its memory.
What is wax memory?
Wax memory refers to the physical tendency of candle wax to limit its melting radius to the exact diameter established during its previous burn cycles.
Do all candles tunnel?
Most container candles made from soy, paraffin, beeswax, or coconut wax blends will tunnel if they do not achieve a full, edge-to-edge melt pool during their very first light.
Conclusion & Next Steps
The first burn rule is simple, yet it fundamentally dictates the performance, fragrance output, and lifespan of your candle collection. Taking the time to build a proper, edge-to-edge melt pool on day one ensures you get a clean, beautiful, and completely optimized experience down to the final drop of wax.
Ready to elevate your home atmosphere with intentionally crafted, clean-burning scents? Explore our full collection of premium home fragrance products today and transform your everyday living spaces.
Author Bio
Written by the Maxwell Thomas Fragrance Team
We craft elevated, luxury home fragrance goods using clean-burning, high-performance ingredients. Backed by rigorous material testing and candle design expertise, our mission is to help you cultivate intentional, beautifully scented spaces with perfect burning performance.